DIY by my Side with Wayfair
This post may contain affiliate links which we may receive commission.
Guys! I am so excited to be teaming up with Wayfair for the DIY by my side campaign!

I consider myself mildly crafty…. I’m not an extreme crafter. I like to craft and I complete lots of crafts, but if the project is really large? I know my limitations. Let’s be honest here.
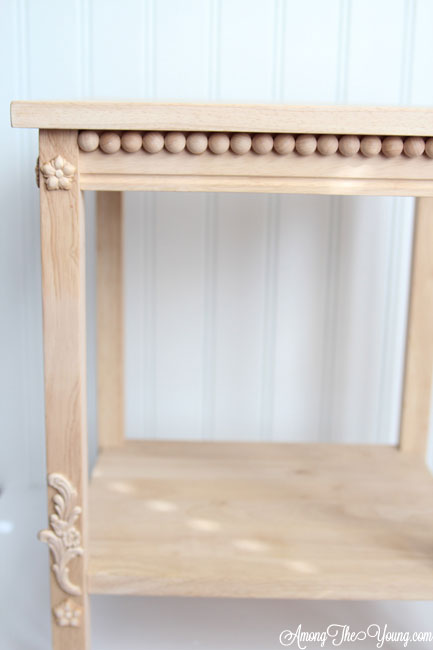
So this cute little side table was sent to me and it’s pretty plain. Cute, but plain, right?
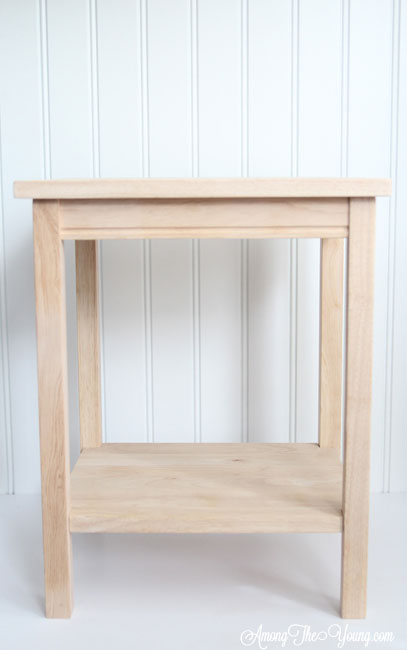
I knew I wanted this little table to go in my 5 year old’s room. She’s been begging for an alarm clock… don’t ask me why.
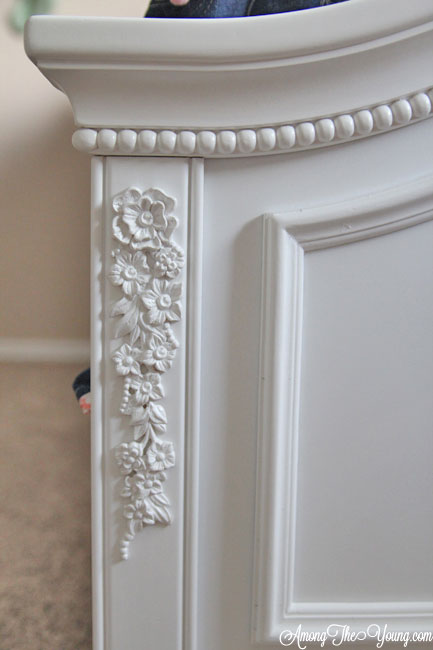
But I used her room for inspiration. Isn’t her bed frame cute? I love the dots, the flowers, and (of course) the white. Time to DIY by my side!
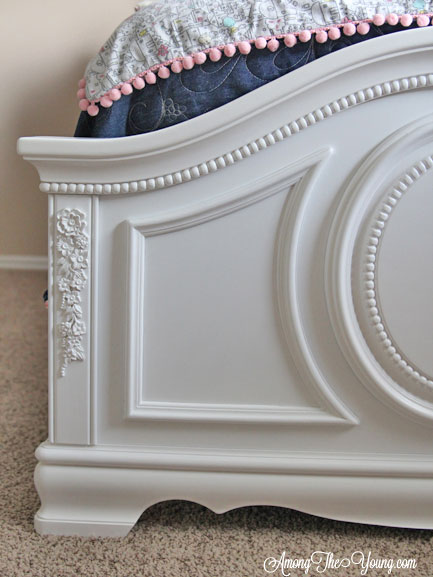
So that was the plan for this naked little end table of mine.
I found a bunch of wooden flowers and dots/pegs at Hobby Lobby – nothing special – and I bought 2 cans of white spray paint. By the way – This spray paint made this DIY by my Side possible. No, I wasn’t paid to say that. I’m the MOST impatient spray painter of all time. Most spray paints say to wait x amount of time before spraying again and I NEVER wait that long and I ALWAYS regret it. This stuff? It says right on the bottle it dries in something like 10 seconds. I was amazed. Where has this been all my impatient life??
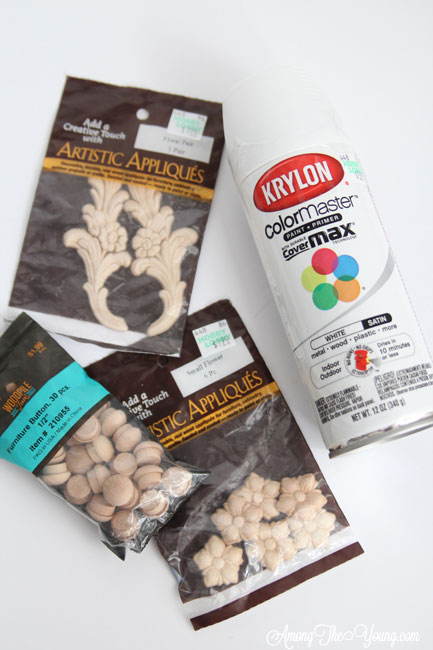
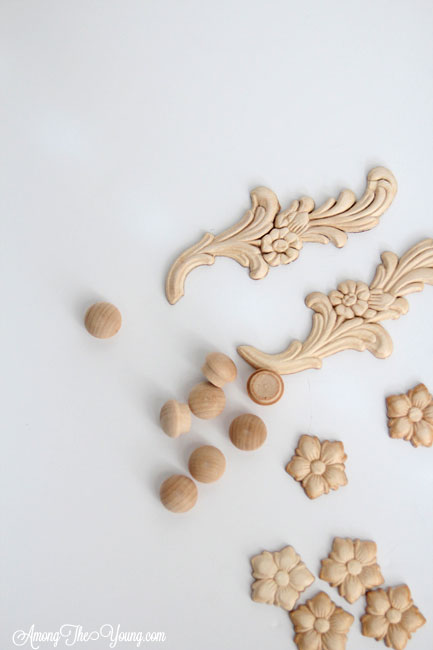
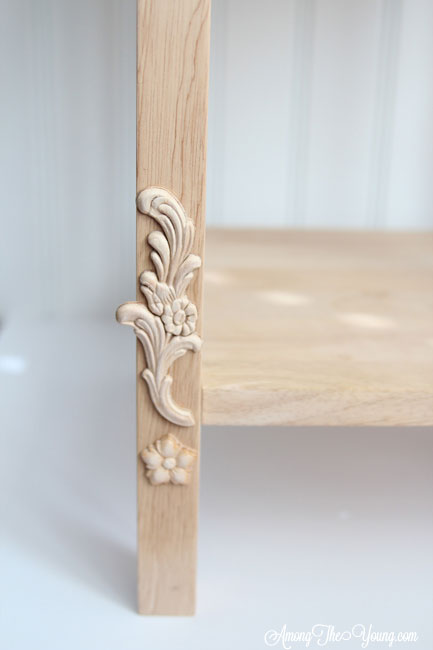
After the table was assembled (thanks be to my husband. Did I mention I’m impatient?) I added the dots and flowers. Word to the wise: Wood glue is radical.
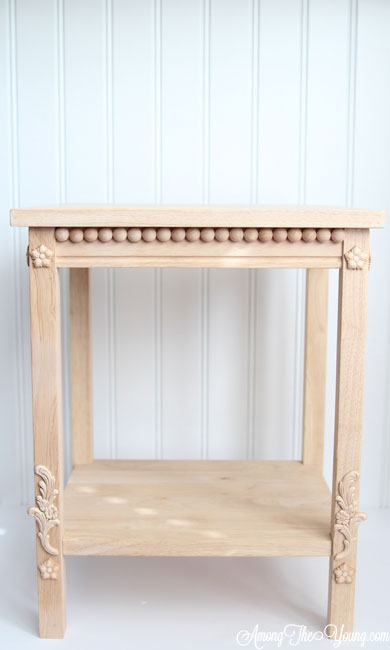
By this point the 5 year old was starting to ask questions like, “Who is this table for?” and “Is it for me?” and the question I was asking myself, “Is it done yet?” Bless our impatient hearts.
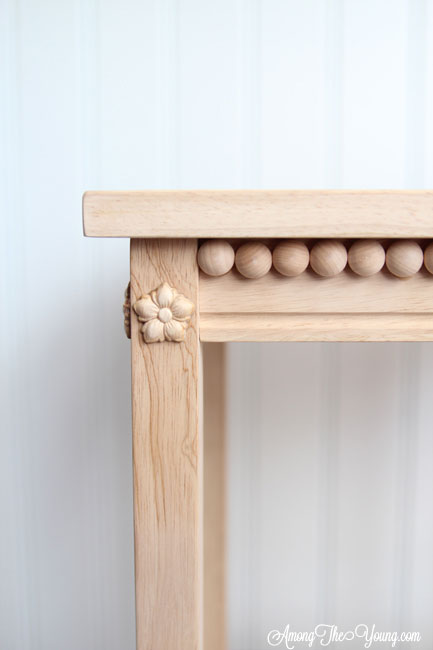
All things considered, this process went surprisingly well and surprisingly fast. I did wait the full 24 hours to let the wood glue dry – because you don’t mess with wood glue.
And then I went to spray paint and the weather was rainy – thank you Utah weather. It really is such my luck. I get the ITCH to spray paint all the things as soon as the weather turns to garbage.
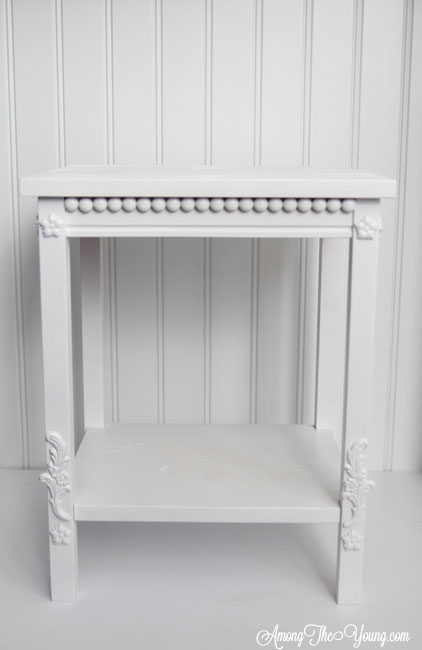
The time FINALLY came to spray paint and I was a little nervous. I didn’t know then that I’d bought the best spray paint in THE WORLD for this DIY by my side project! I was worried it would come out splotchy or uneven. My fears were unwarranted and did I mention this stuff dries SO FAST?! I’m hooked.
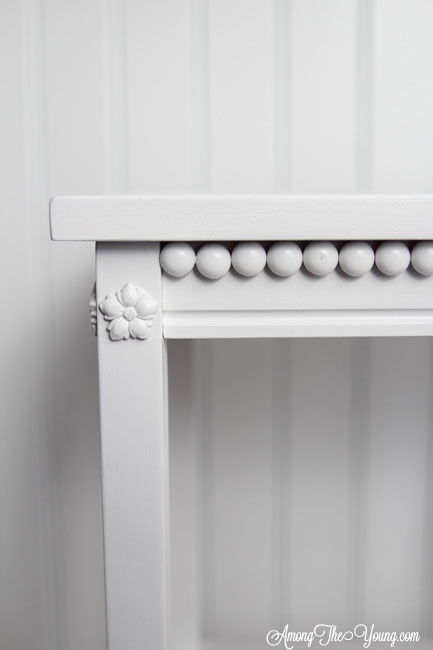
The dots.
The small flowers.
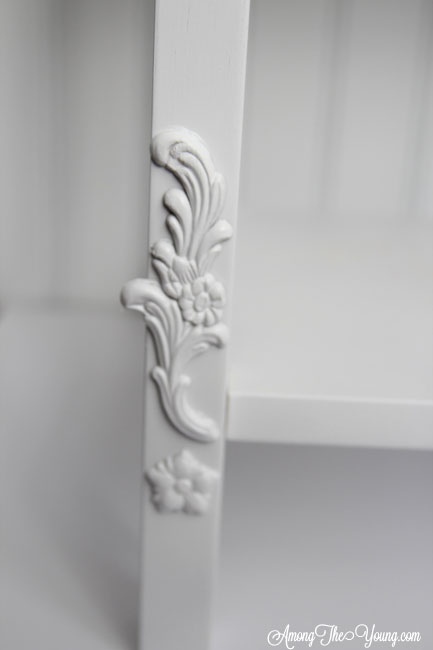
The wavy flowers.
The white.
I love it all.
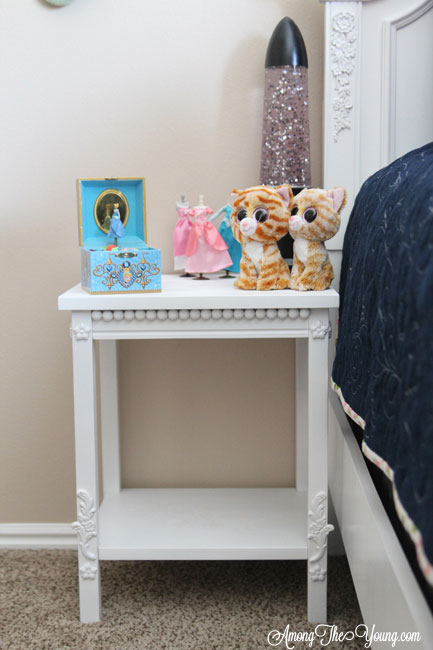
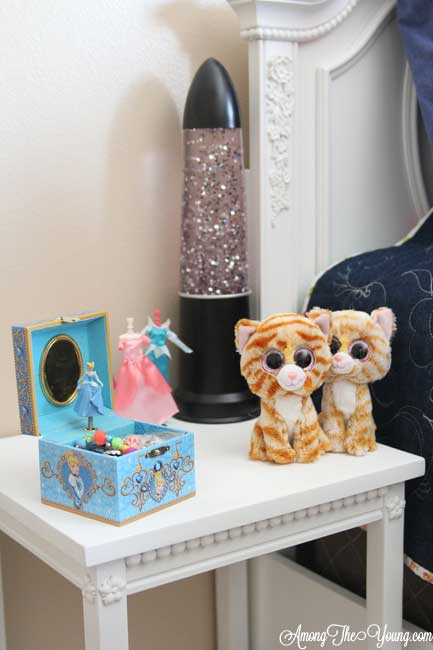
We set the table up and added a few little trinkets from her room and the 5 year old was giddy with excitement. And yes, that is my old glitter lamp. You have my permission to be jealous. Also, a pink alarm clock is on it’s way. Don’t tell!
The crown jewel of the DIY by my side project? Just wait! I had the HARDEST time getting the lighting and angle right, so you’ll have to bear with me and use you imagination. I KNEW I wanted glitter. KNEW. It was a necessity.
But how?
Paint? UGH.
Mod Podge + Sealant? Getting closer.
Then it hit me: Could I emboss a spray painted table?
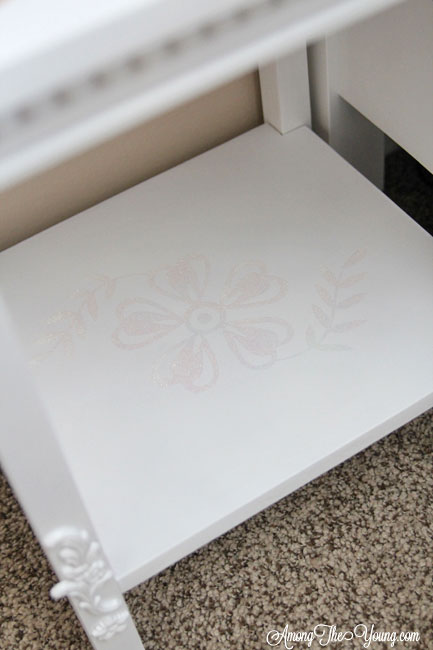
You heard me: EMBOSS. As in, I created a stencil, took clear stamp ink, sprinkled it with embossing powder (glitter), and used heat to set the pattern. I did a small test area and IT WORKED. I was elated. I had to be held back from embossing the entire table. Ask my husband – it’s the truth.
Best part? I told the 5 year old that Tinkerbell helped me make it and she even let me borrow some of her pixie dust. SOLD. The 5 year old’s day has been made … until she forgets, which is probably right now.
Thanks for reading my DIY by my side project – I know I love it, as does my 5 year old. How would you DIY by my side? What would you do different??

I love it!! That’s beautiful and matches her bed frame perfectly!
That turned out really well! I can see why your daughter loves it so much!