How to make the cutest DIY handprint ornament
This post may contain affiliate links which we may receive commission.
Top Utah lifestyle blog, Among the Young, shows how to make the cutest DIY handprint ornament for your Christmas tree. Click here now for all the info!!
I’m a sucker for little handprints. An absolute SUCKER. I love seeing the way little hands turn into big hands slowly over time.
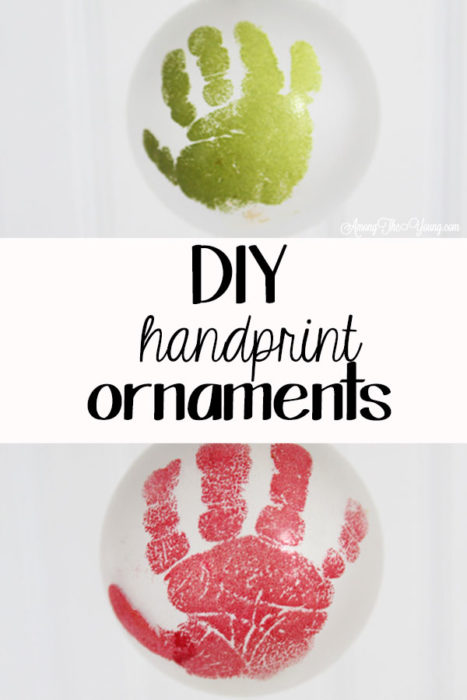
I started doing these diy handprint ornaments almost 9 years ago – when my oldest child was my only child. I wanted something pretty and classy, but I didn’t want to use clay or heavy ceramic. (Side note: My preschool gives out the heavy ceramic handprint ornaments and I still love them. SO much!)
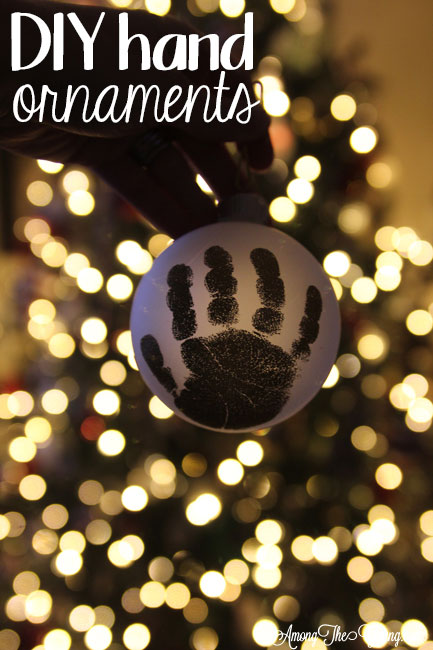
At the time, Pinterest was a new-ish thing and I couldn’t find anything that met my liking for my handprint ornaments. I was slightly irritated about it, but I kept it in the back of my mind.
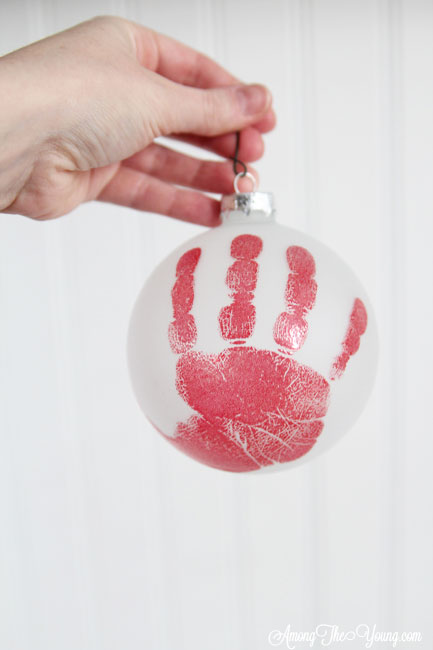
Around this same time, I got REALLY into paper crafts. I even went to a CLASS at the mall to learn how to make greeting cards and learn different techniques. (Is that even a thing anymore?) At this class I learned how to watercolor after stamping and I learned how to emboss.
LIGHTBULB!!!
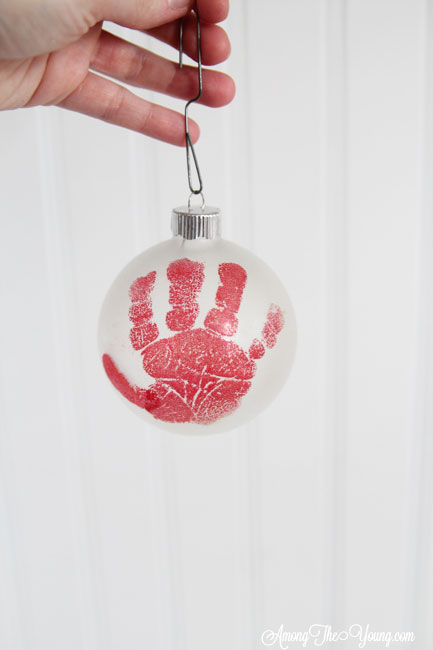
There it was! I could emboss my little handprint ornaments! They’d be cute, unique, and I could pick the colors.
Bonus: They could be sparkly.
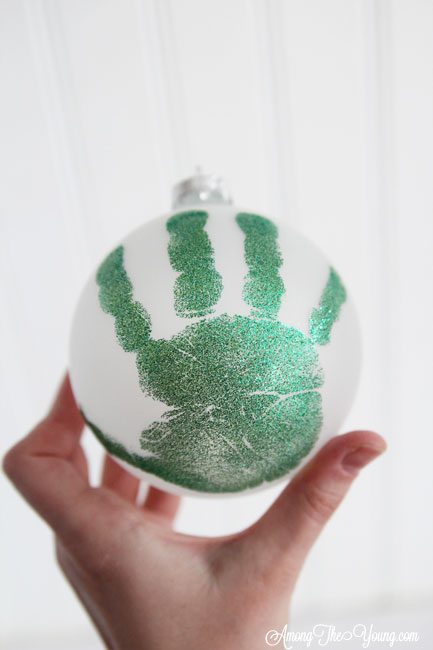
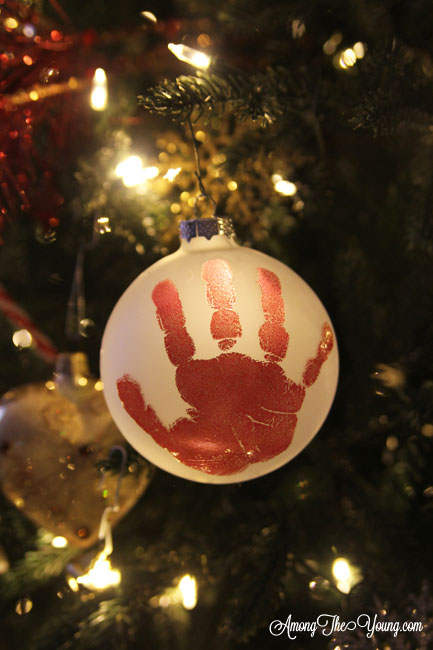
DIY embossed handprint ornament
That first year my poor little almost-one-year-old had her hand stamped and restamped – she was SUCH a good sport! I made all the grandparents little ornaments and made one for our bare little tree.
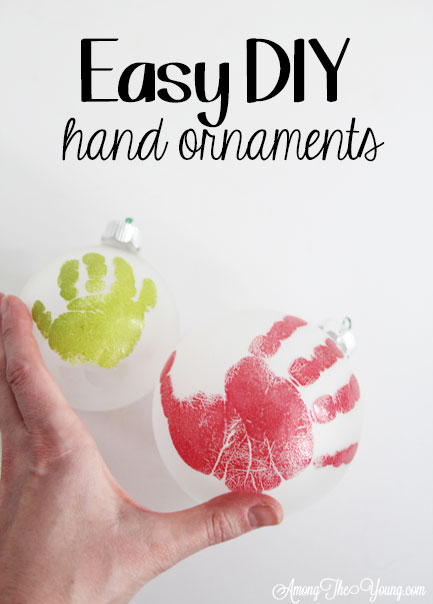
Each year it was so fun to see how she’d grown and add a new embossed DIY handprint ornament color to the tree.
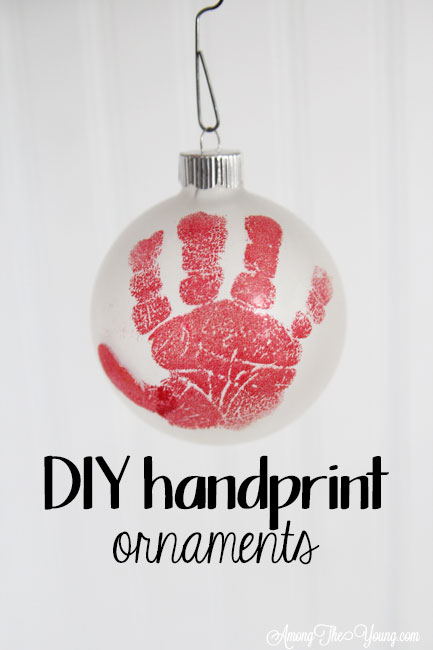
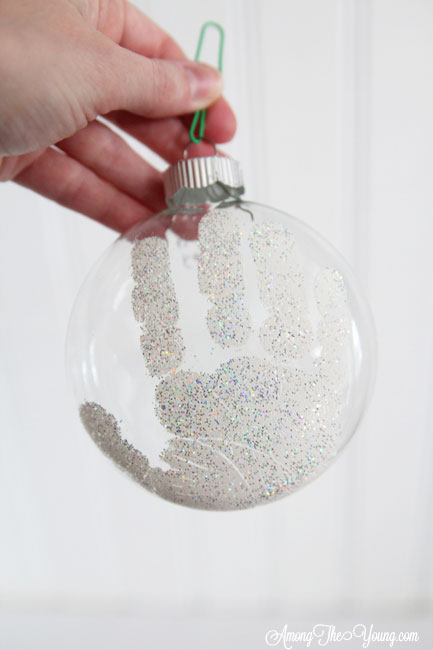
My favorite color was the “holographic” embossing powder because SPARKLES, but I do love the matte red and the lime green as well.
How to make a DIY handprint ornament
The TRICKIEST part of this whole process is getting a decent HANDPRINT from small humans. As they get older, then can hold still and press their own hand evenly on the ornament. However, as babies, it’s AT LEAST a two person job. SORRY!
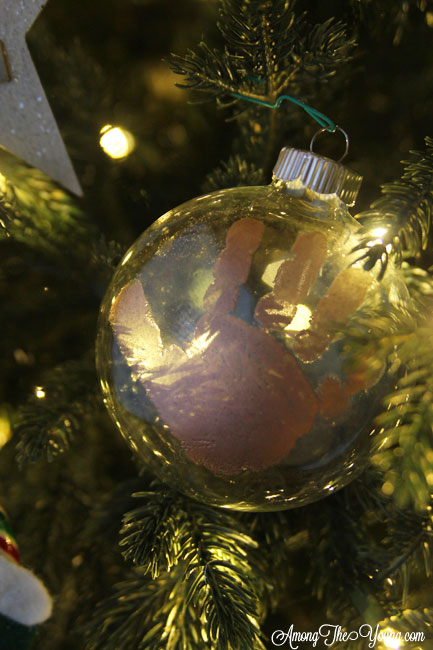
One person is in charge of the ornament and the hand about to be stamped.
The other person is in charge of keeping the non-stamped hand out of the way.
I usually do this in a high chair so all hands are FREE!
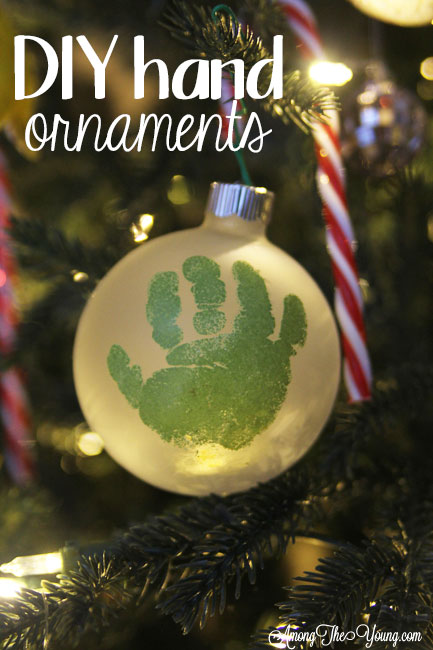
I am usually in charge of stamping because I’m the crafter and I’m crazy and MAAAAAAYBE a little bit of a perfectionist. It’s FIIIIIINE!
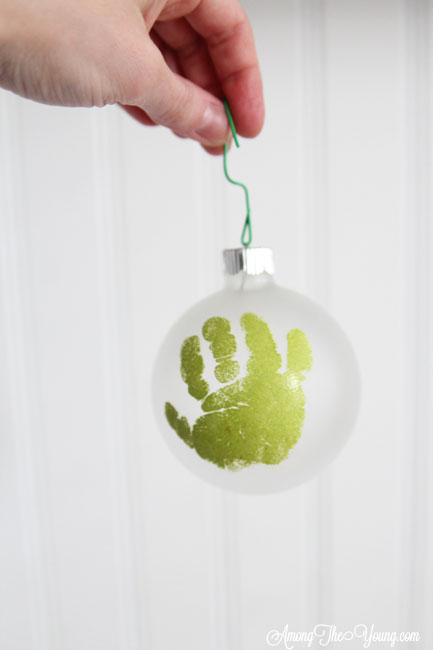
The tips for embossing can be tricky if you haven’t done it before, but basically you want to keep the heat even across all the ornament. Make small little circles to avoid overheating one area. You don’t want to burn the embossing powder. It stinks, it’s gross, and then you have to restamp your kids hand. UGH.
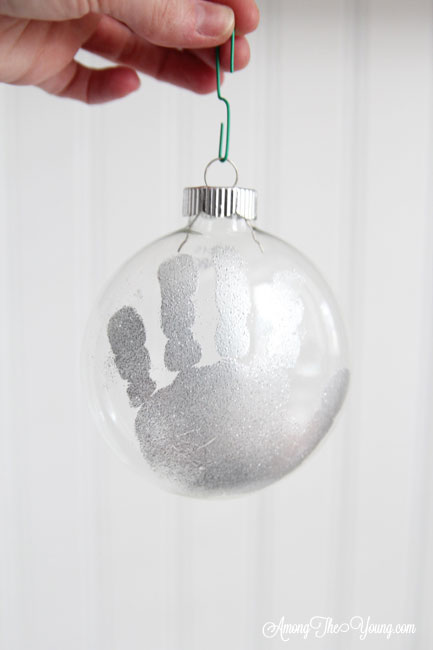
Supplies needed for a DIY handprint ornament
*Ornaments (of course).
I’ve done frosted and clear – both work great, it just depends on your personal preference! Be sure the ornament is BIG enough to show the hand!)
*Clear stamp pad ink
*Embossing powder – good luck picking your color … I might have them all 😀
(gold, red, holographic, rose gold, lime green, and silver tinsel.)
*A tray (to collect and catch all the excess embossing powder!)
*Q-tips
*A good attitude OR bribed children (Both are awesome!)
Beforehand: Have you tray ready and dusted with powder!
1. With clean hands, stamp child’s hand with clear ink
2. Spread child’s hand out and press it onto the ornament
3. Press, press, press! (Get it all – I always forget the thumb or the pinkie!)
4. Gently lift the hand off and DO NOT TOUCH the clear stamp
TIP: IF NEEDED, use a q-tip to clean away any spots that you don’t want to powder to stick to.
WORST CASE SCENARIO: You botch this. Guess what? I have too! Turn that circular ornament around and TRY AGAIN! You got this. Kids are wiggly and this is messy, but you won’t regret getting this to look nice and clean.
5. With the tray under your ornament, dump the embossing powder onto the stamped handprint.
6. Tap off any additional powder. (This is also an excellent time to use your Q-tip and clean off any areas you didn’t see before that will now have powder stuck to them!)
Embossing time!
7. Holding the ornament by the top, turn your heat on and make quick little circles to keep the heat even.
8. Watch as your powder MAGICALLY transformed into beautiful, embossed goodness.
Clean up:
9. Using your tray spout, dump the embossing powder back into its little tin
VOILA!!
I like to write on the back of the ornament (really small and on the top) the name of the child and the year. It’s amazing how I DO NOT REMEMBER which year and which child belongs to which hand. Tired mama alert…..
I LOVE Christmas – if you need a snack while you’re making these cute ornaments, be sure to check out some of my favorite recipes:
For another easy ornament idea, be sure to check out this cute DIY snowflake ornament. This was what I did for my students when I was a special education teacher. Cute, personalized, and GLITTERY!
If you’re in need of other crafty ornament ideas, definitely check out my friend Amber – her Rae Due inspired ornaments are AMAZINGLY cute! Plus, she has a tutorial for how to paint clear ornaments as well as some farmhouse ornaments that are to die-for cute!
Have you made a DIY handprint ornament before? Let me know in a comment below!

How do you wash the embossing ink off the baby’s hands?
It’s like a regular stamp pad – it just washes right off.